How to Create a Custom Location: A Step-by-Step Guide
Custom Locations are a useful feature that allows you to create your own custom location or add a location for an activity that does not have a street address or location data.
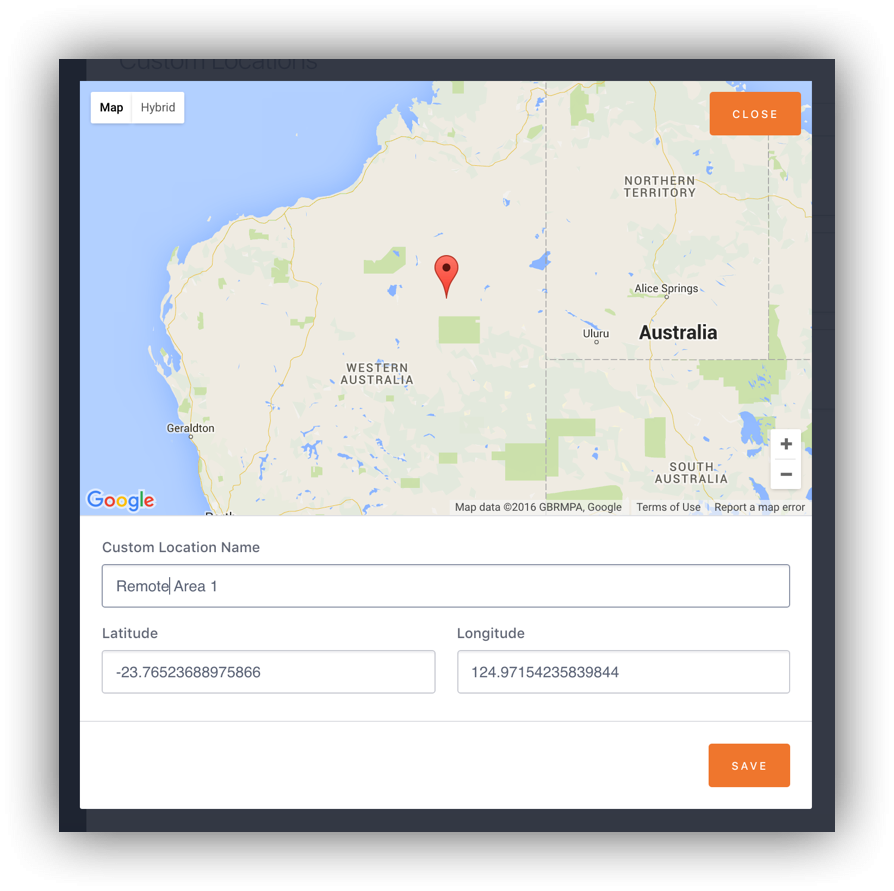
To create a Custom Location:
- Select "Custom Locations" from the menu on the left-hand side within the Manage Section
- Click on "New Location" in the top right corner.

- On the displayed map, you can zoom in and navigate to the desired location. Alternatively, if you know the longitude and latitude details, you can enter them into the boxes below, and the location will be displayed on the map. Please make sure to enter the latitude and longitude in decimal degrees.
- Click on the map to drop a pin and mark your location. If you didn't click on the exact location you want, you can simply click again on the map to move the pin.
- Once you have selected the desired location, you need to name the location in the box below the map and click "SAVE".
- Your new Custom Location will now be displayed in the Custom Location list.
Note: When creating an activity using a Custom Location, you can simply type the name of the Custom Location into the address search box, and the location will appear at the top of the list.
