Travel itineraries can be automatically uploaded directly into JESI. It will automatically select ALL segments on the travel itinerary and create Check-Ins in JESI. Simply forward the email with the attached travel itinerary to trips@jesi.io
There are two ways in which an itinerary can be uploaded into JESI:
1. The User can upload the itinerary themselves or
2. This can be done on behalf of the User
1. User to upload
Simply attach the pdf itinerary to a new blank email (ensure there is only one itinerary per email), leave the subject line blank and send to trips@jesi.io. An email notification is sent if the Activity has been created or rejected. If the itinerary fails to upload, the Activity will then need to be created manually.
Please forward failed itinerary uploads to support@jesi.io .
2. Upload on Users behalf
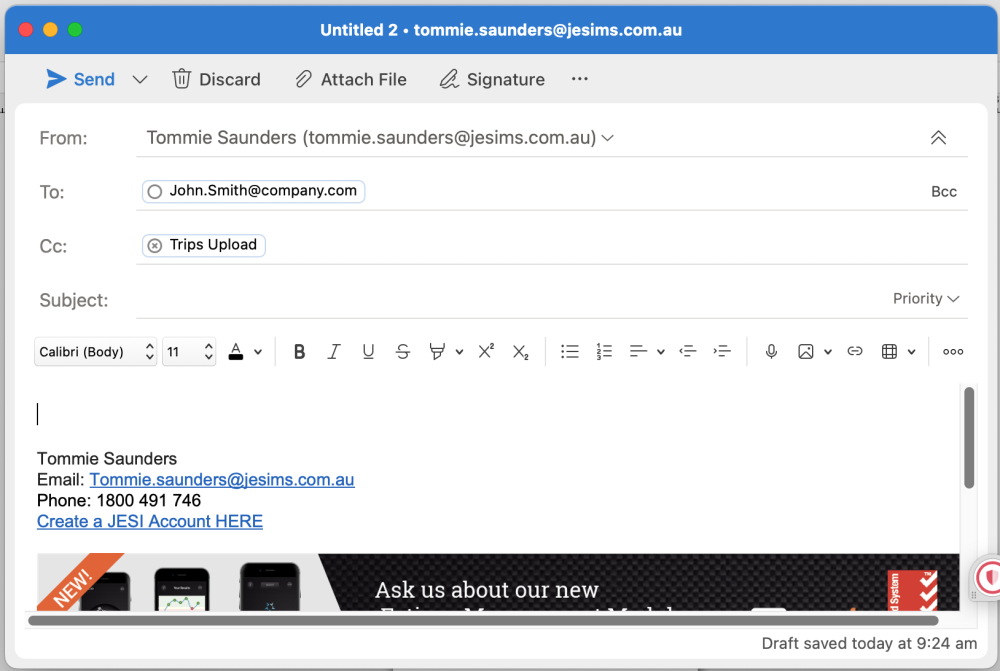
Attach the itinerary to a new email (ensure there is only one itinerary per email), leave the subject line blank and email to the User and Cc trips@jesi.io (see example below). An email notification is sent if the Activity has been created or rejected.
 |
If the itinerary fails to upload, the Activity will then need to be created manually.
Please forward failed itinerary uploads to support@jesi.io
IMPORTANT INFORMATION
Only one itinerary can be uploaded per User per email.
If there is accommodation included in the email the User MUST go into JESI and edit the Check-In time for the accommodation.
If the Activity failed to upload please ensure the User has no other active Activities in JESI and that they are assigned to a Default Team.